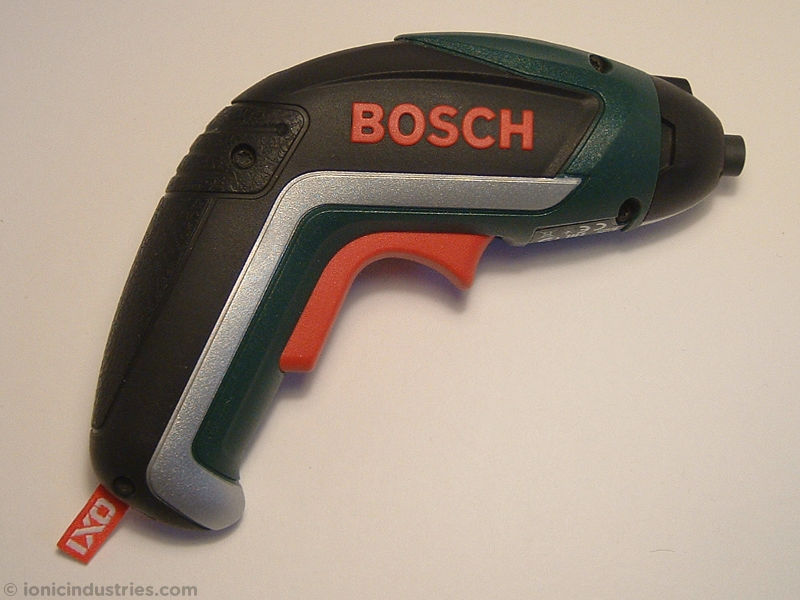
This guide shows you how to open your Bosch IXO cordless screwdriver and repair it by replacing its internal rechargeable battery. The tutorial is based on the IXO version 5 (V) but also applies to other generations of IXO electric screwdriver such as the IXO 4 (IV) and IXO 3 (III) and also other brands of cordless screwdriver such as Ryobi and Black & Decker that use a 3.6V to 4V Li-ion battery.
The method for replacing your Bosch IXO battery is:
- Open and partially dismantle the Bosch IXO
- Disconnect the old rechargeable battery
- Solder in the replacement battery
- Reassemble the Bosch IXO
This procedure is documented in detail below with lots of photos. Click on any photo to enlarge it!
Disclaimer
Any damage to yourself, your screwdriver or anything else is entirely your responsibility. This guide is for professional, educational purposes only and is offered without guarantee or liability.
Warning: Lithium-ion batteries are volatile and if short-circuited or overheated they will go into thermal runaway and ignite creating a severe burn and fire hazard. Do not short-circuit, disassemble, crush or expose contents to water. Lithium reacts violently in water.
Tools / Parts / Equipment
- Bosch IXO Cordless Screwdriver
- Compatible charger
- Soldering iron: Electronics grade (about 18-25 watt) with chisel tip
- Solder: Lead-free silver solder with flux core is great for this
- Small flat-bladed screwdriver
- Craft knife
- Scissors
- Torx T-8 screwdriver (star-shaped bit). Support us by buying via Ionic Industries here
- Replacement IXO 3.6V Li-ion battery with solder tags. Support us by buying via Ionic Industries here
How-To
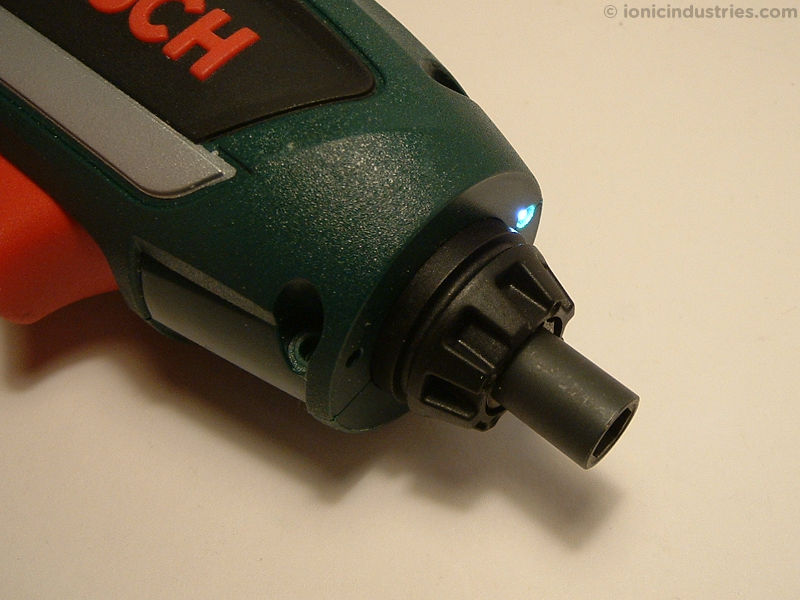
To start with, remove any screwdriver bits from the chuck of the cordless screwdriver.
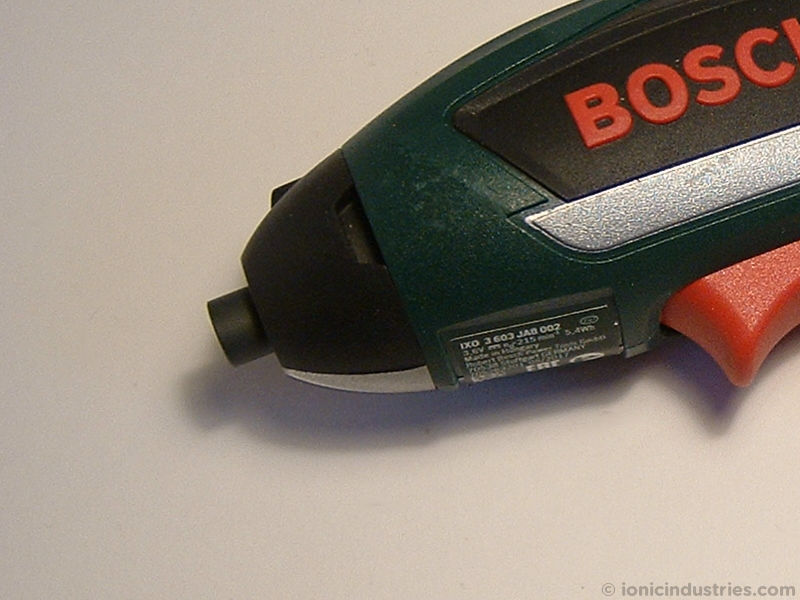
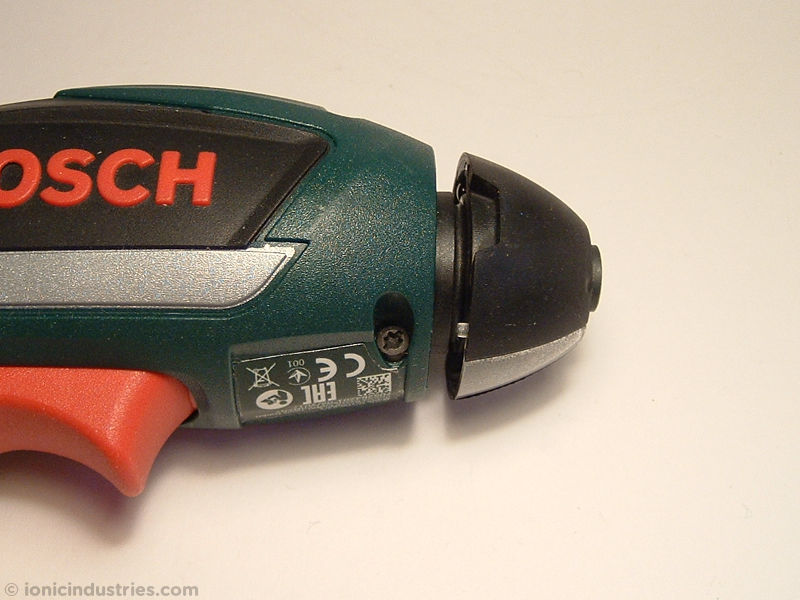
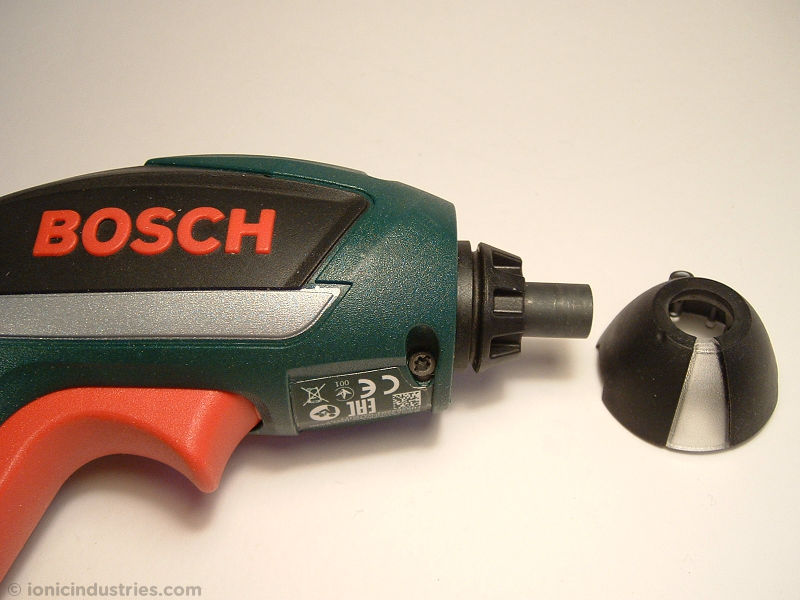
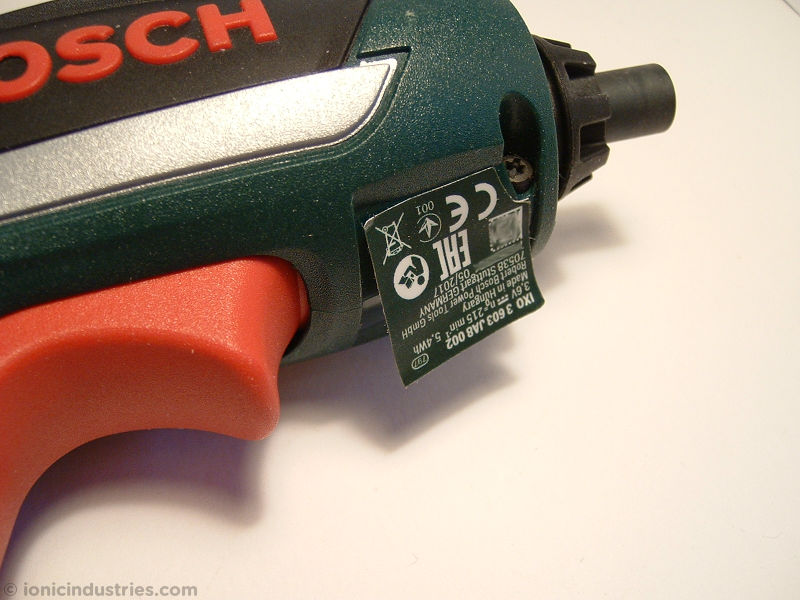
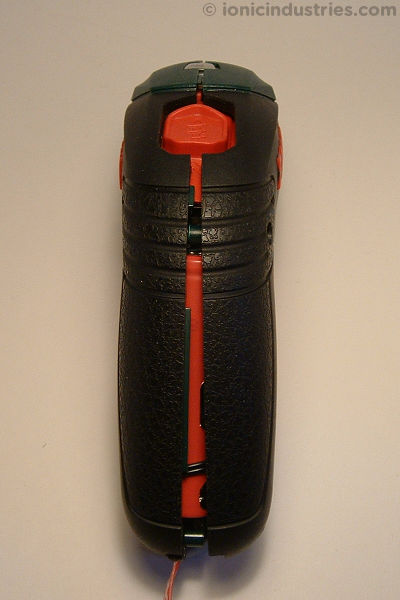
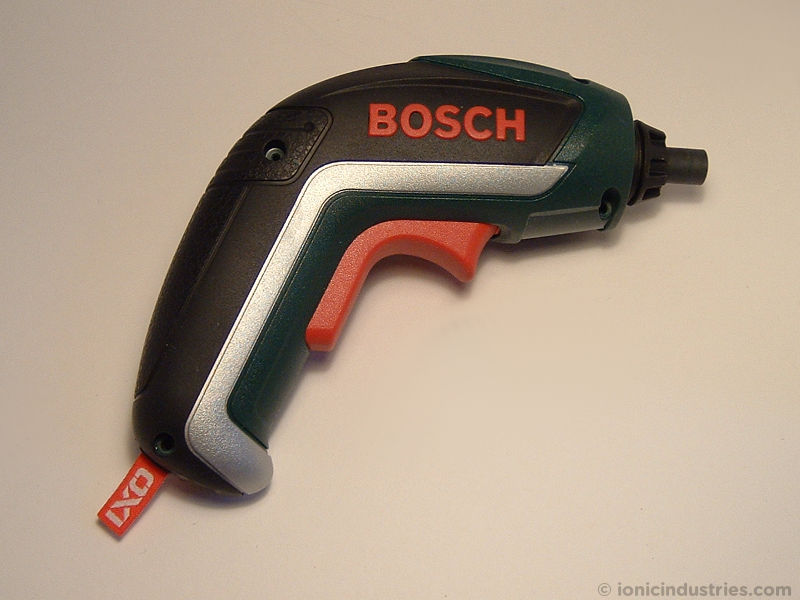
Using a flat-bladed screwdriver gently pry the rubber nose shroud (chuck cover cap) off the IXO screwdriver and put it to one side.

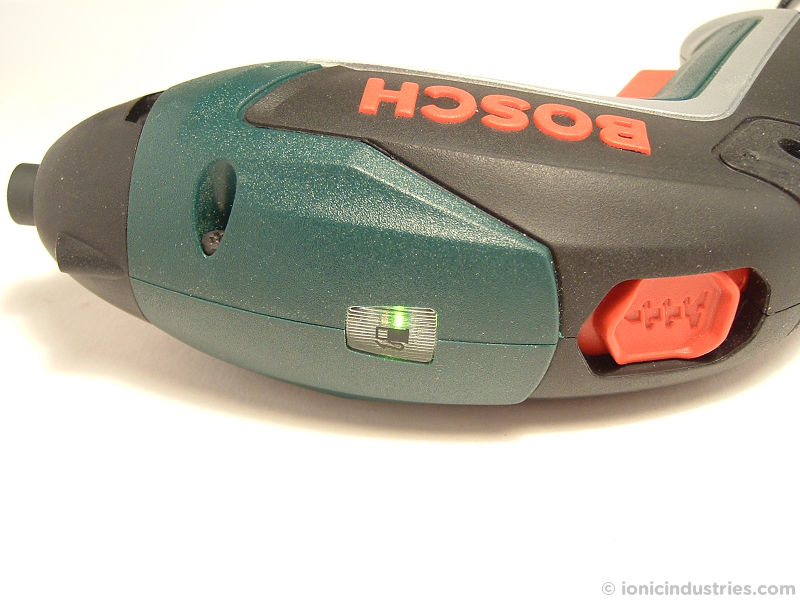
Gently peel the label off from in front of the trigger. You can use the knife blade to get started by lifting one corner of the label.
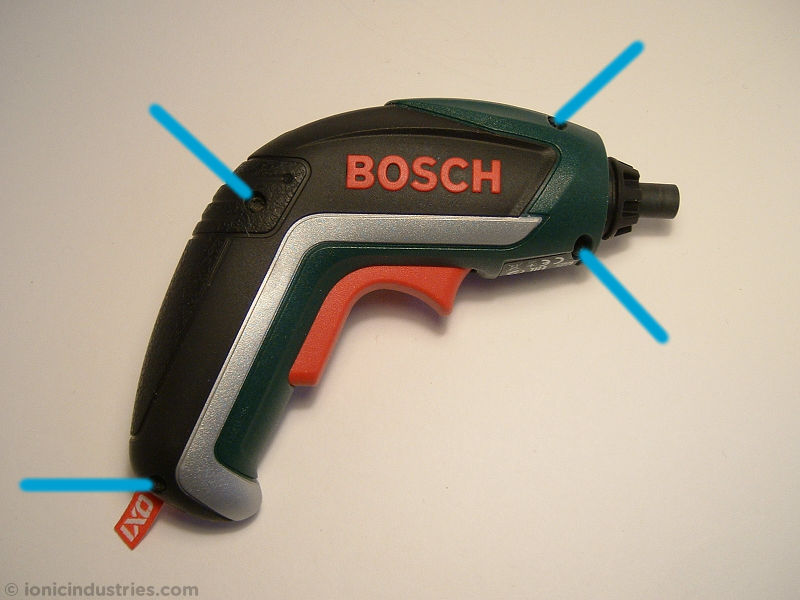
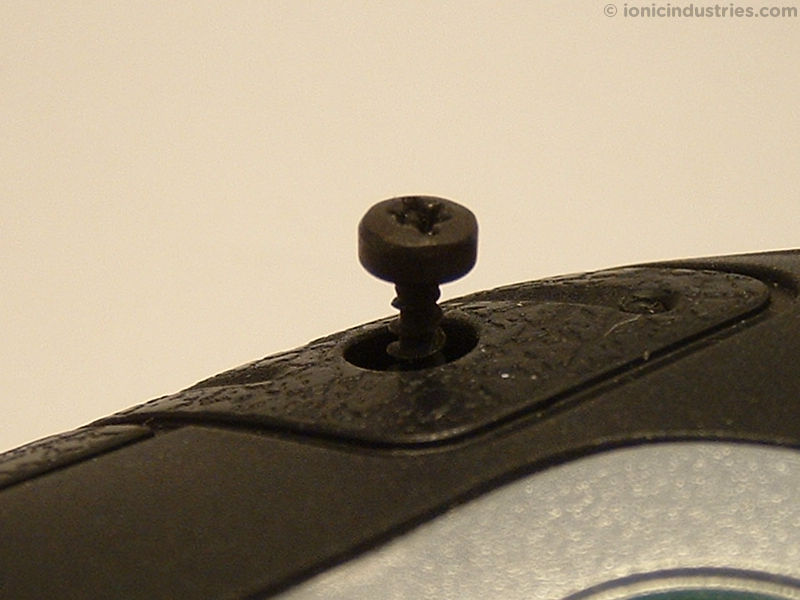
Using a T-8 size Torx bit screwdriver remove the 4 Torx screws that hold the two halves of the casing together. Suitable torx screwdrivers are available through our online shop. You might also be able to fit a small, flat-bladed screwdriver into the screw heads instead.
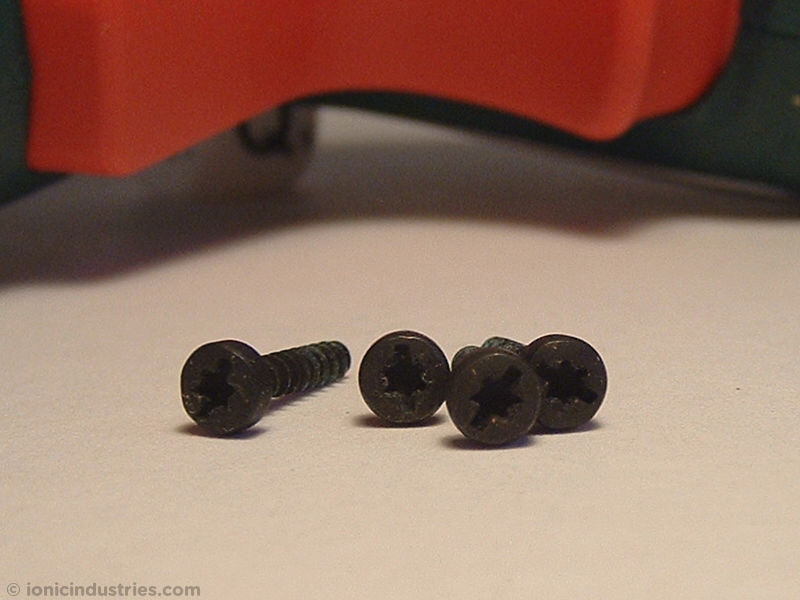
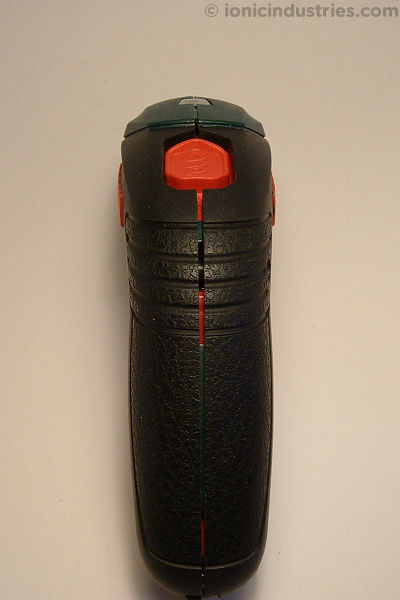
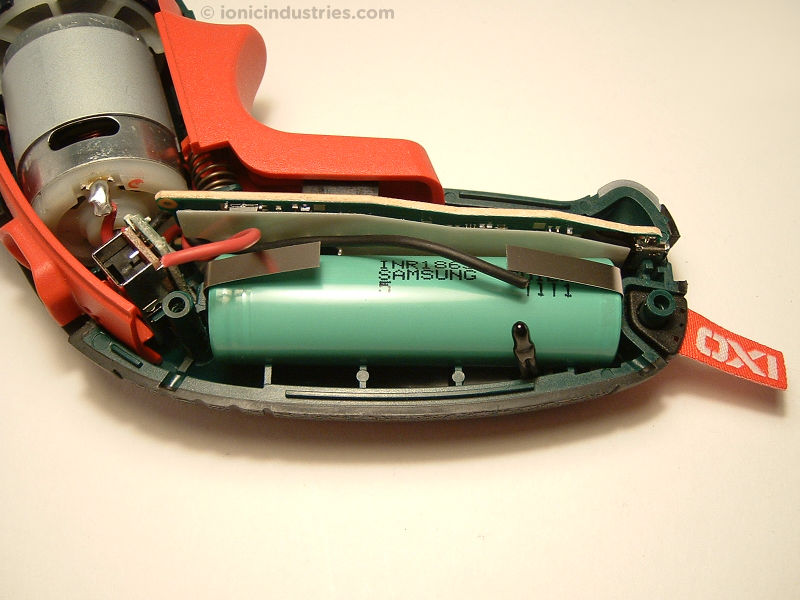
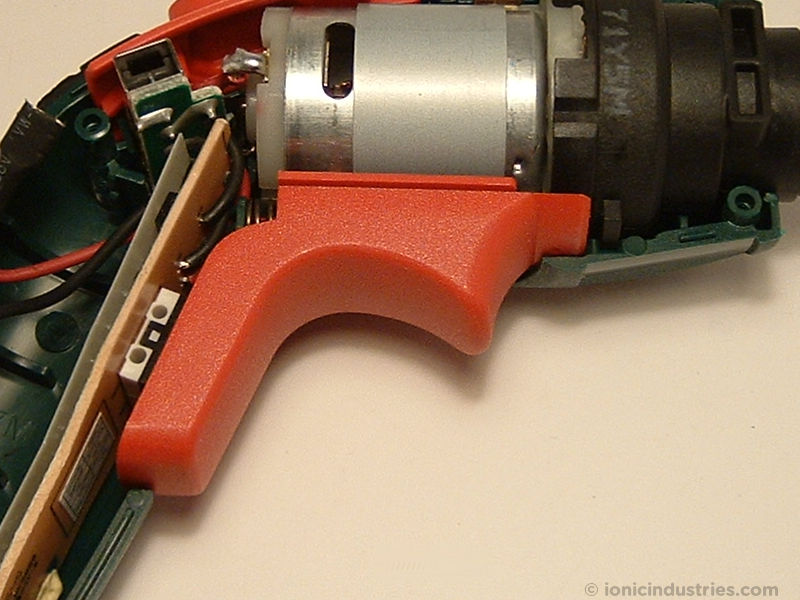
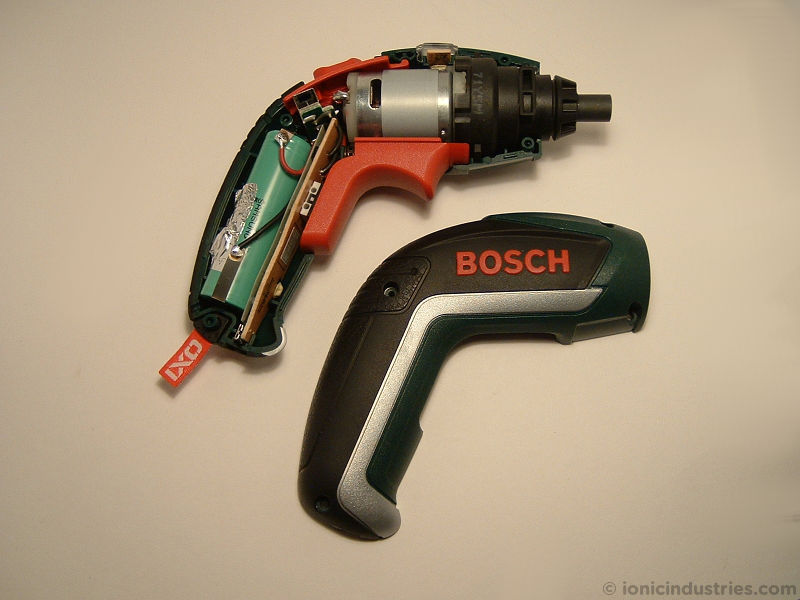
With the 4 screws removed you can now pry apart the casing. Try to keep all the internal parts in the left-handed half of the casing.
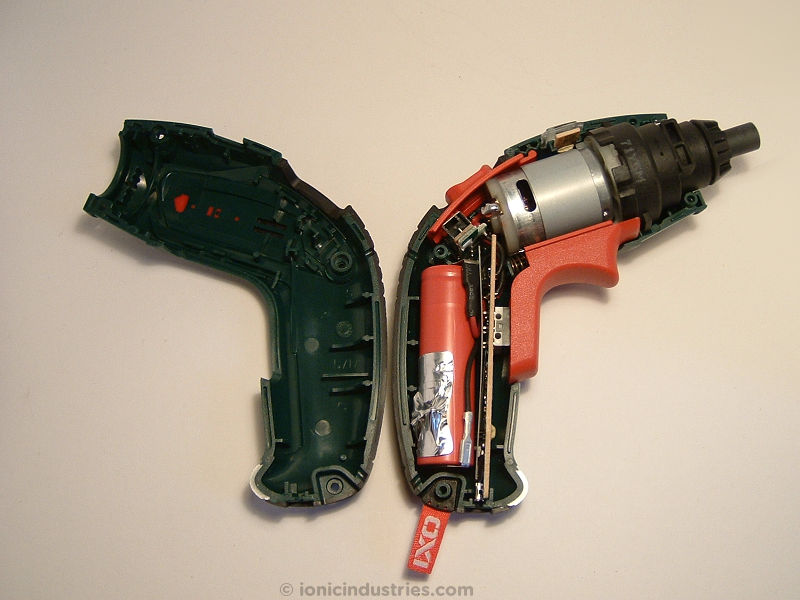
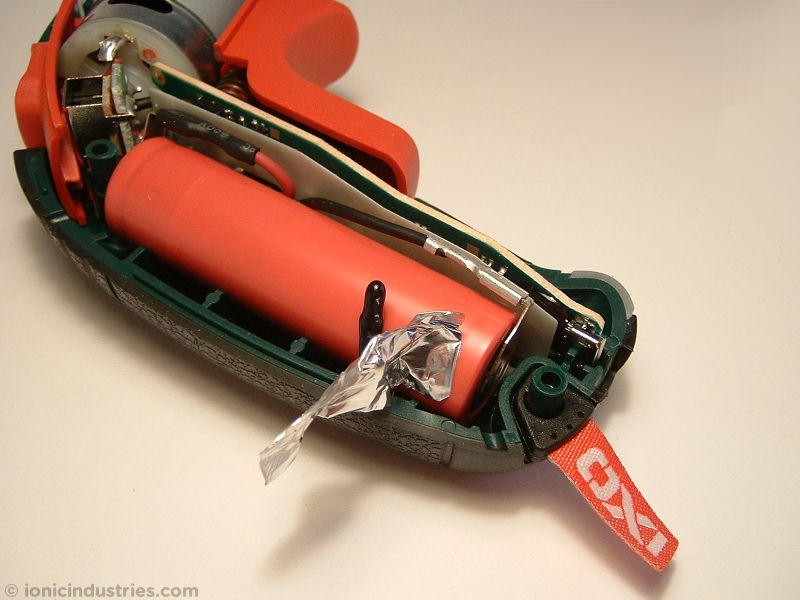
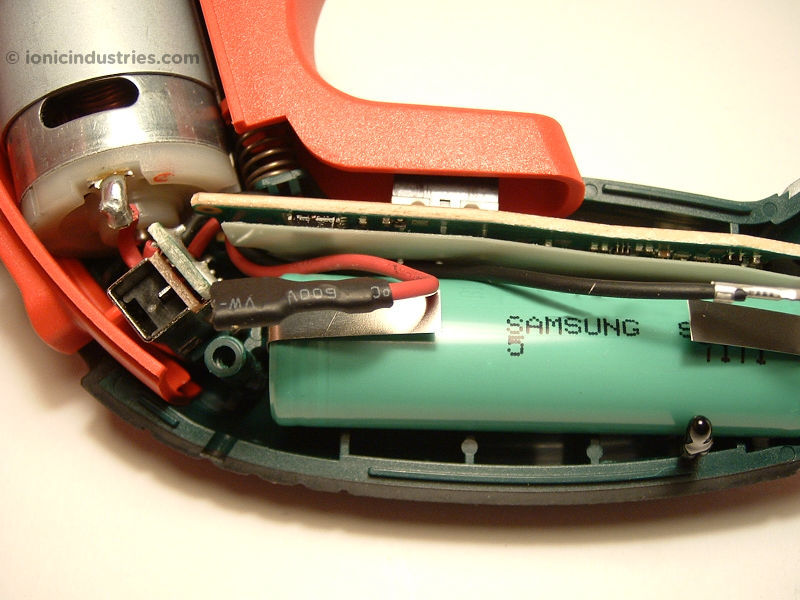
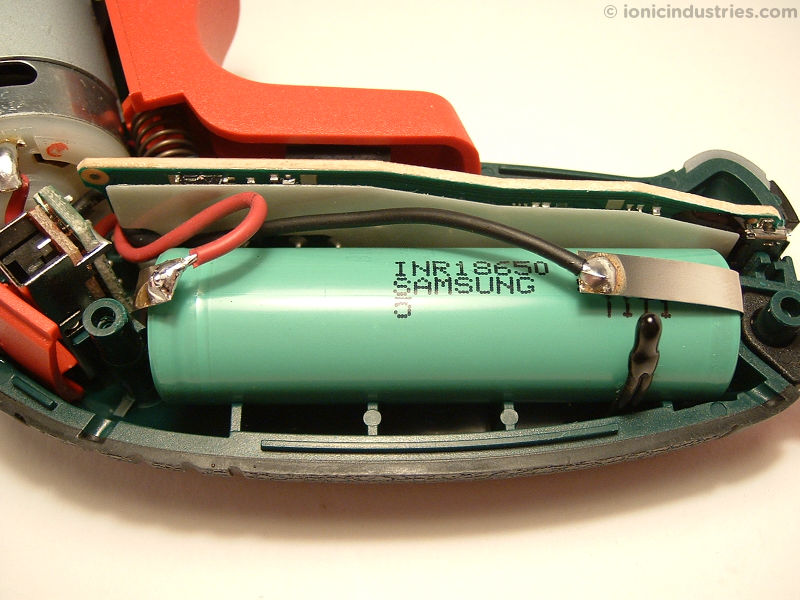
Below you can see the battery. This version of the IXO screwdriver has spade terminals to connect the wires to the battery but other IXO versions have the wires soldered to the metal tags on the battery.
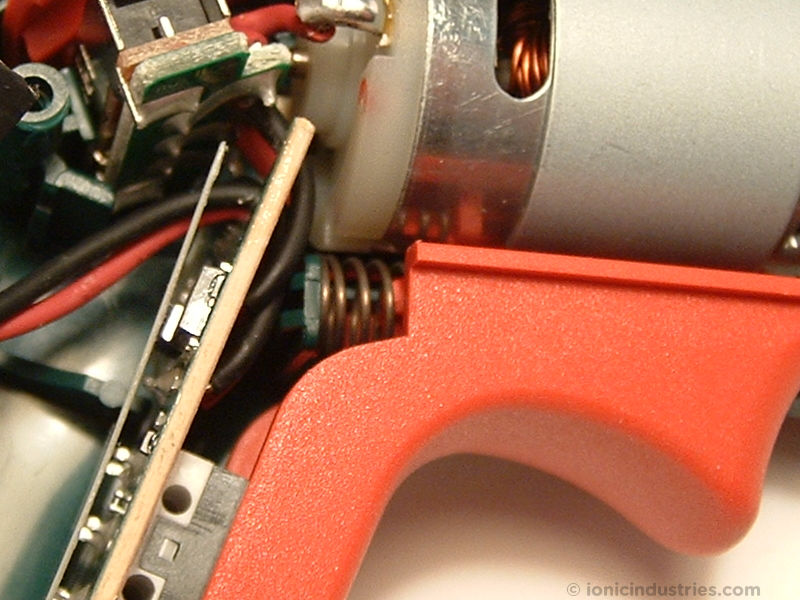
Note that the positive battery terminal is nearest the motor in this version of the Bosch IXO screwdriver. Other versions of the Bosch IXO had the battery installed the other way round so carefully note the polarity of your original battery. You can take a quick photo of it before removing it to remind you. There is a groove around the outside of the battery near the positive end to help identify it.

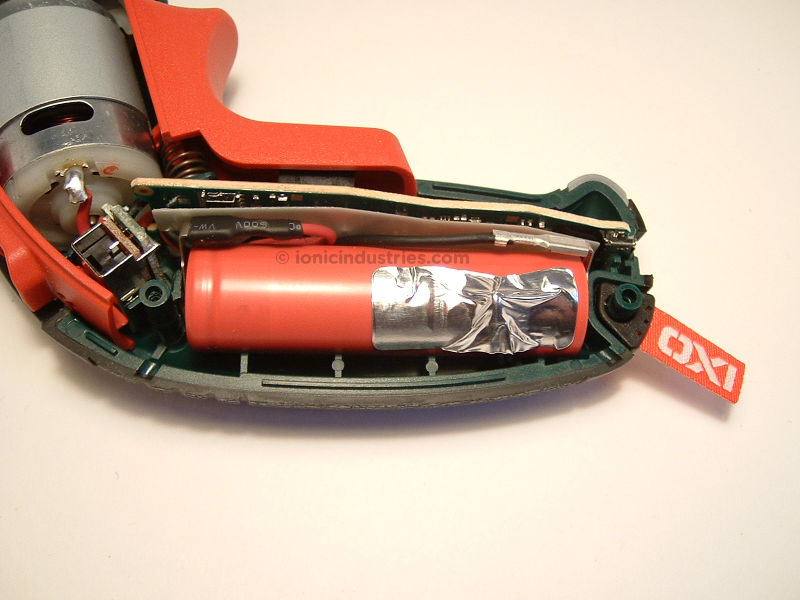
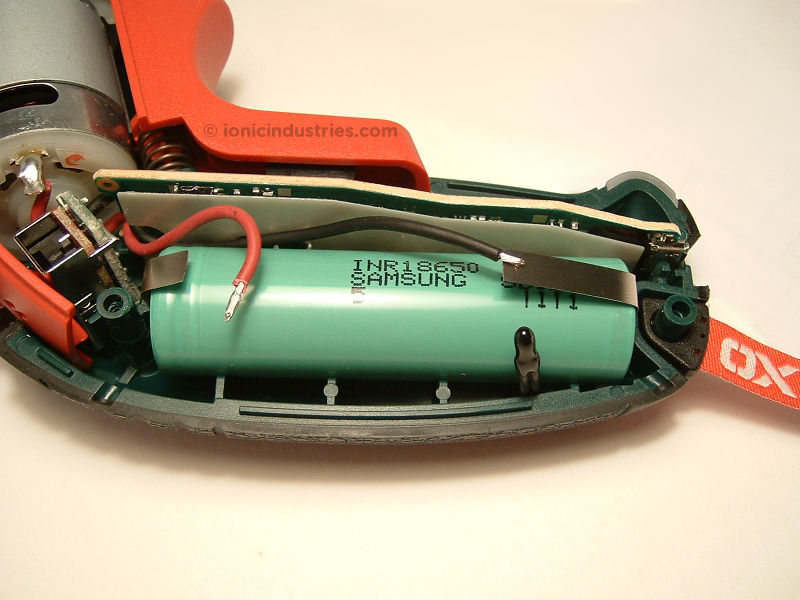
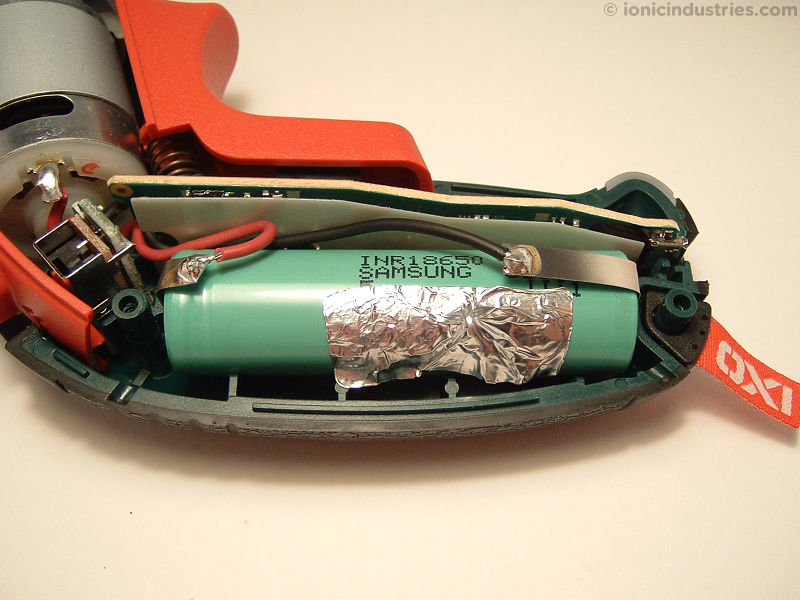
This Bosch IXO has a thermal sensor taped to the battery. Peel the aluminium tape off the sensor and put the tape to one side.
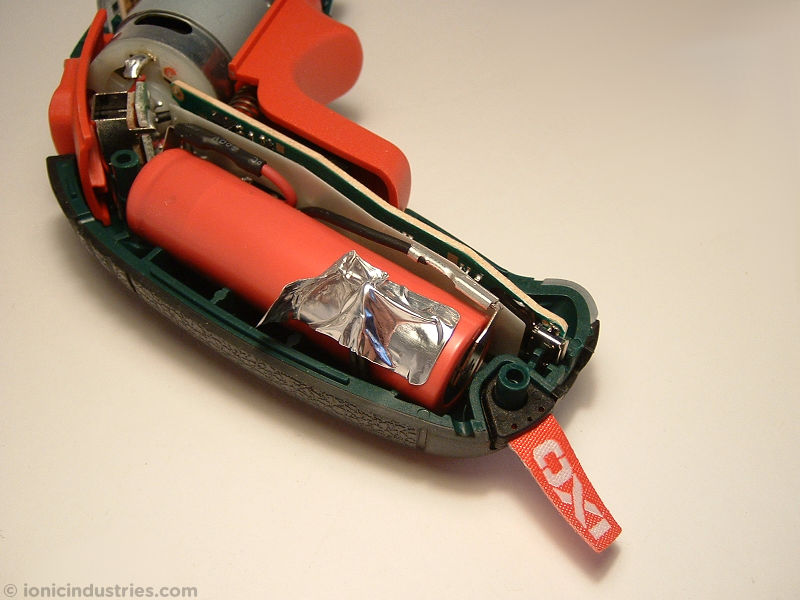

You can now lift the original battery out of its compartment.
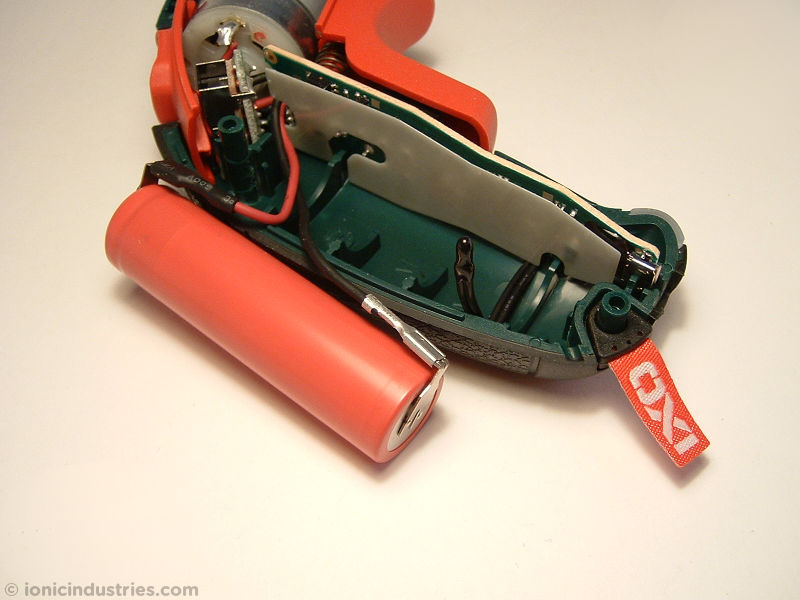
Slide the spade connectors off the battery to disconnect it. If your IXO has soldered wires on the battery tags, warm up your soldering iron and desolder the wires.
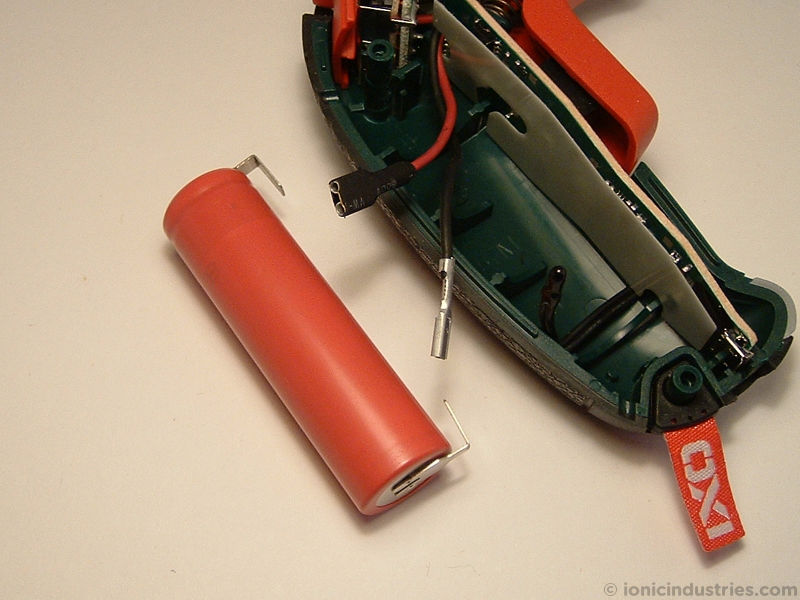
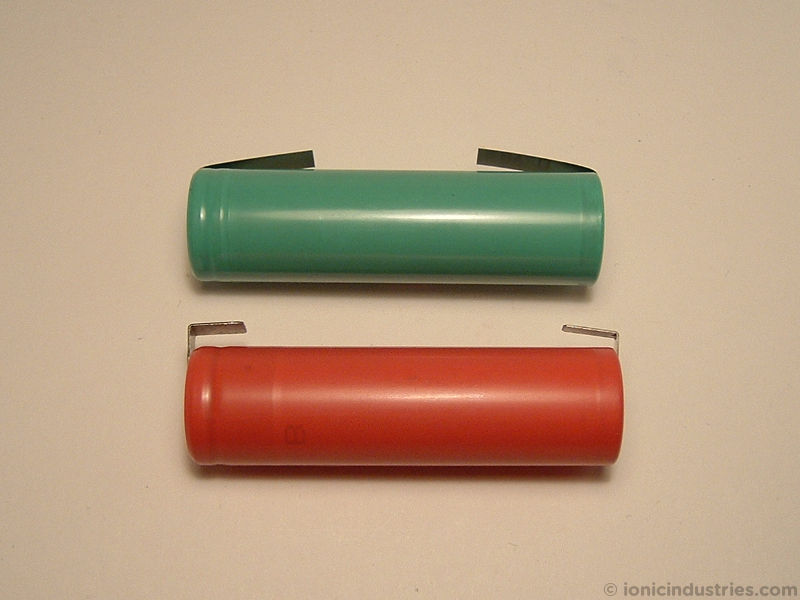
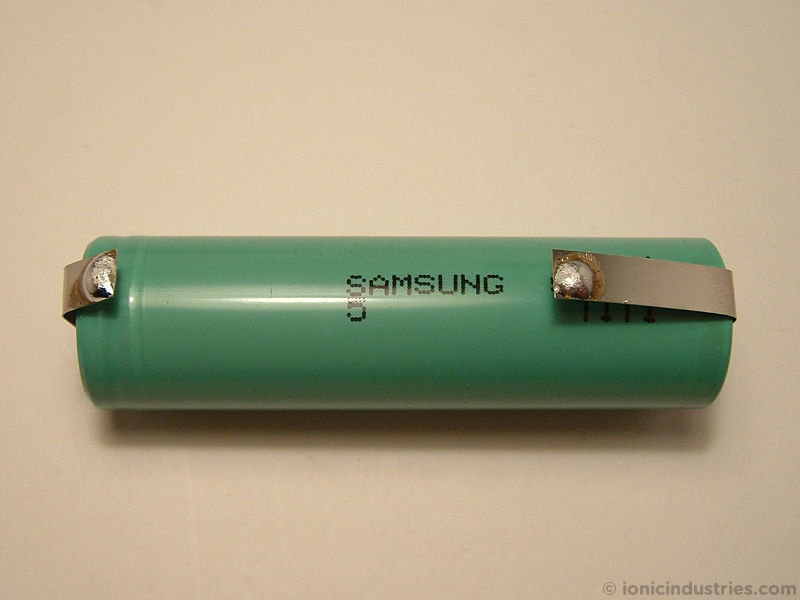
The removed battery is shown below. The positive end of the battery (left) has a groove running around the outside of the battery. The wider spade connector is at the positive end and the narrower spade connector is at the negative end (right.)
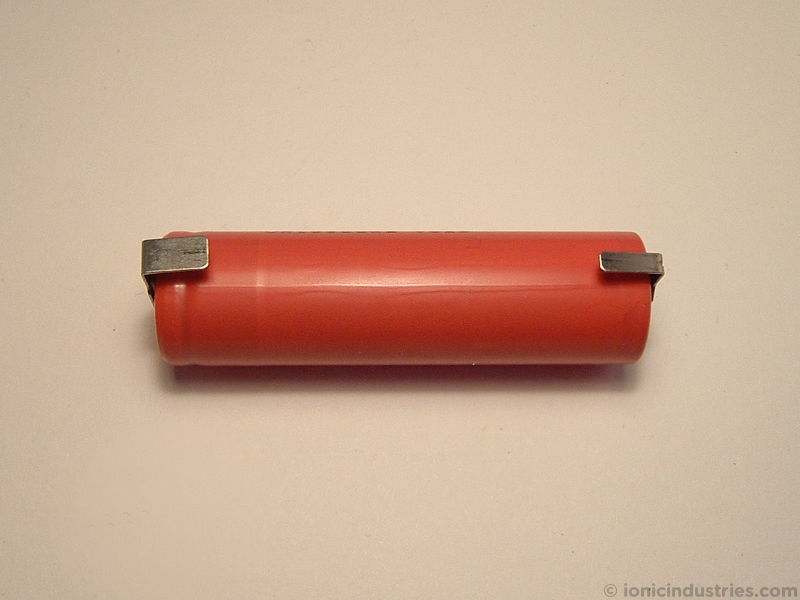
Compare the original battery to its replacement. Please support us in writing these guides by buying your new battery through Ionic Industries here. These are 65mm long, 18mm diameter 3.6V Lithium-ion batteries. This original IXO battery has a maximum discharge current of 15A and a capacity of 1500mAh. The replacement battery must have ratings the same or higher. Fitting a higher capacity battery means your cordless screwdriver will run for longer between charge-ups.
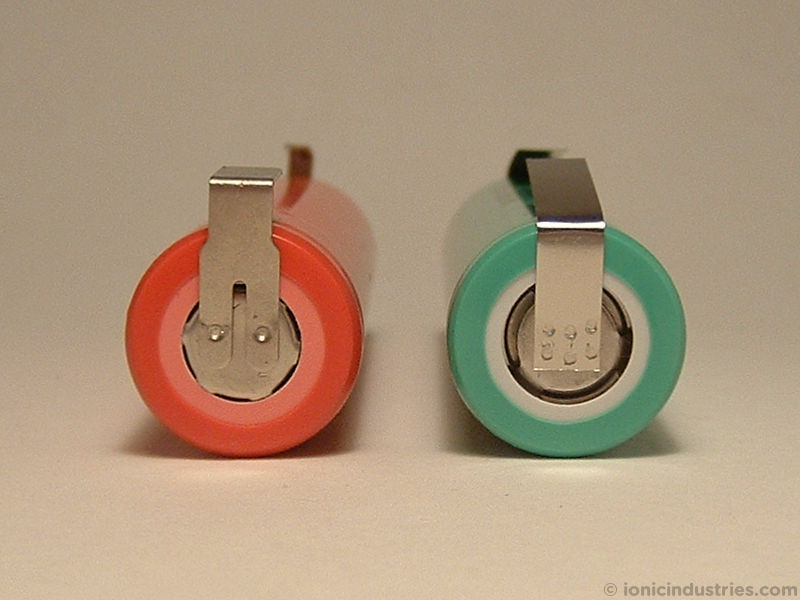
Positive ends:
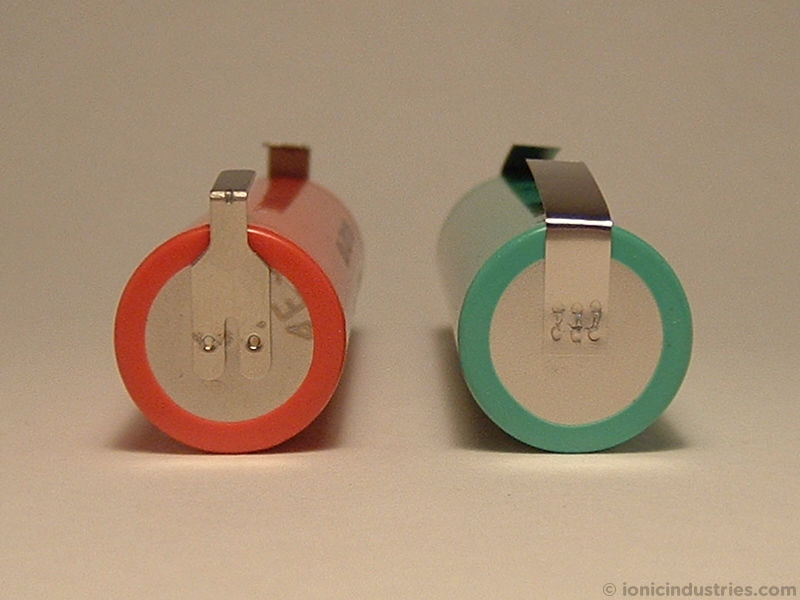
Negative ends:
Test fit the new battery inside the casing with the positive end towards the motor as per the original battery. Check that the wires reach the solder tags on the new battery.

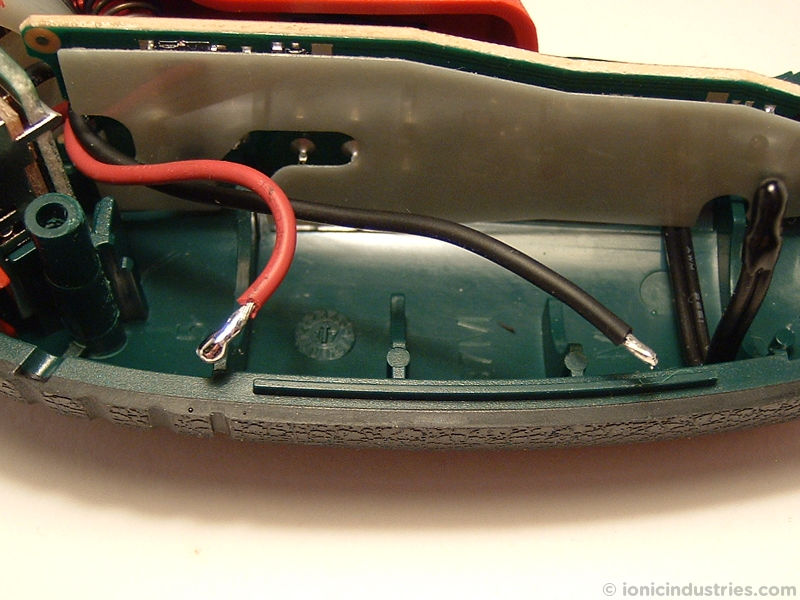
Cut the spade terminals off the wires.
Decide how much to shorten the metal solder tags on the battery. In this example only the positive tag has been shortened by cutting it with scissors. Strip the ends of the wires.
Tin the ends of the wires with solder.
Bend the metal tags well clear of the battery’s plastic sleeving and tin the metal solder tags with solder. Make sure that you do not melt the plastic sleeving as this can create a short circuit!

Install the new battery, making sure that the temperature sensor is not trapped underneath. Solder the wires to the battery tags without pushing the tags against the battery’s plastic sleeving as this can cause a short circuit. Avoid heating the temperature sensor as this can damage it.
Tape the thermal sensor to the surface of the replacement battery. Keep the metallic tape away from the battery tags. Optionally, wrap some insulating tape around your solder joints.
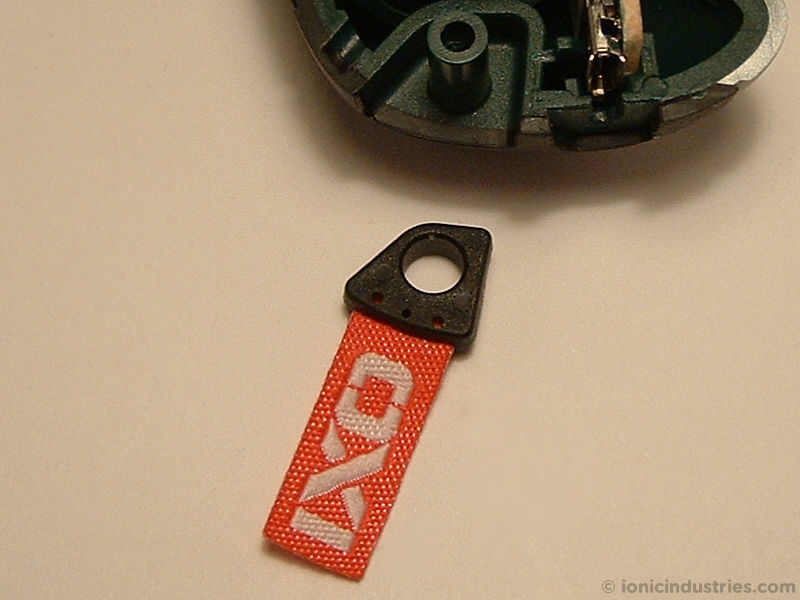
If the little fabric IXO tag has come out put it back on its post. It will only fit one way round.
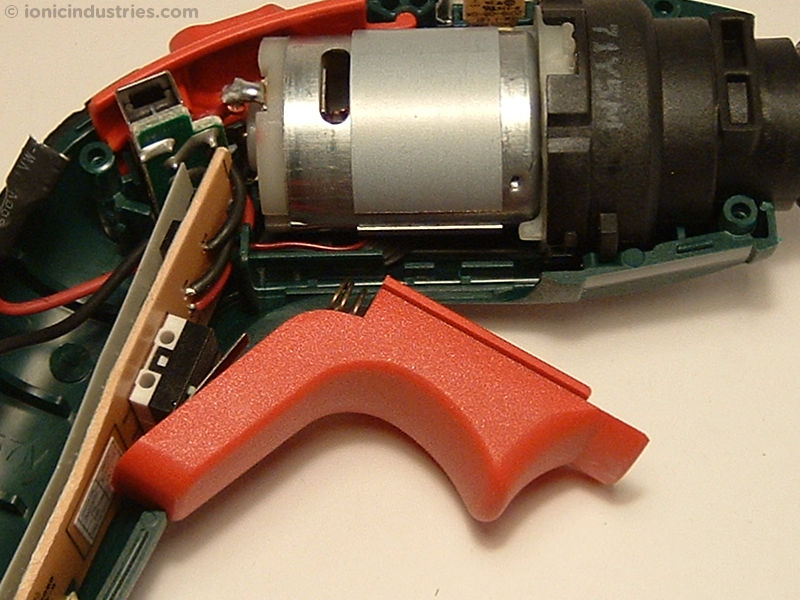
If the trigger has come out slot it back in to the casing. It is easiest if you slot the bottom end in first, then the top end. Make sure the spring is in place against its stopper.
Clip the other half of the screwdriver casing fully in place.
While holding the two halves of the case firmly together, check that the switches work, that the motor runs in both directions and that the light works.
Carefully place each screw into its hole. Because these are self-tapping screws screwed into soft plastic they can easily get cross-threaded. Using the Torx screwdriver turn each screw anti-clockwise slowly until you feel it drop down into its thread. Then tighten the four screws up evenly in a clockwise direction.
Re-apply the sticker to the screwdriver casing.
Clip the nose cover back in place, making sure the alignment stud is lined up with the hole in the screwdriver body. You can pull the cone off, rotate it 180 degrees then re-fit it to select a different lens depending on whether you want a more focused beam of light or a wider angle beam of light.
You now have a fully repaired Bosch IXO cordless screwdriver!
Put the screwdriver on for a full charge. A higher capacity battery will take longer to recharge than the original battery but it will run for longer between charge-ups. You can also start using it before it is fully charged as this will not harm the battery.
Please tape over the terminals on your old battery and recycle it at your local civic amenity or supermarket battery collection point.
You can leave any questions, tips or hints about replacing the battery in the Bosch IXO in the comments section below.
Hi I have charging problem with the same .No charging indecator turns on.What coud be the problem?
It could be the charger, the charging cable or the battery. Are you able to try a different charger, such as one from a mobile phone?
when trying to charge contacts on base unit do not contact with terminal lugs below main unit hand grip
Absolutely brilliant instructions, thank you
The entire experience with Ionic Industries has been perfect!
From finding the web page through ordering , buying, receiving the battery, fitting it and charging it for the first time.
These instructions have been perfect to easily remove, install and dispose of old battery.
Thanks Ionic industries, I promise to tell others what a great job you do.
Hello From Down under , I need a new battery for my bosch IXO screw driver ,
INR18650 -13L
Samsung SDI
108
Regards Reg Maddock ASAP
Hi Reg, You should be able to get a CameronSino WGF300VX battery in Australia, for example from this seller on Ebay.
I have a Skil rather than Bosch but they’re so identical looking I’m sure it won’t be any sort of issue. Thanks for the real complete info; outside of just good picture and easy to grasp step by step, but the links to order and reviews as well.
Much appreciated.
Far too many reasons to not buy a new driver. So many reasons to keep the one I have going and going.
Thanks Ionic industries for supplying these instructions (easy to follow) and the replacement battery. Although my soldering skills are not the greatest, I managed to do the job and am very pleased that I have a fully functioning cordless screwdriver again.